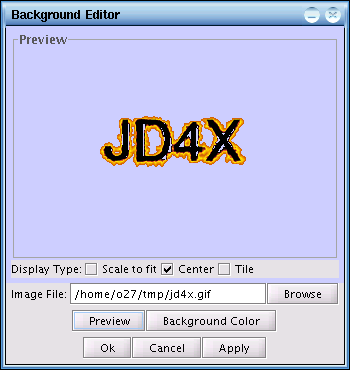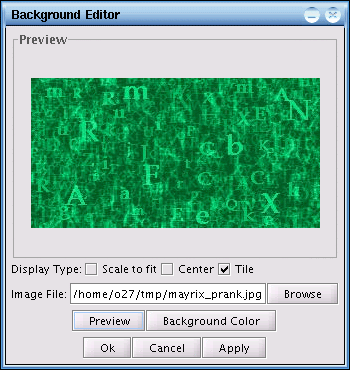
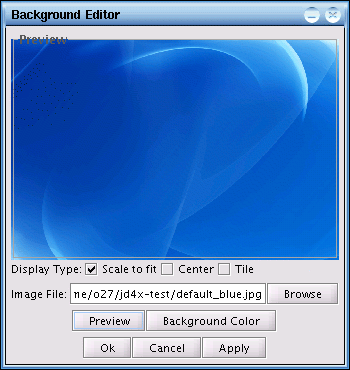
The background editor consist of two
panels. The first panel is the Preview screen. The Preview screen allows
you to look at what the new configuration will be like before applying
the new setup to the actual background. The Preview screen will only
adjust the size of the actual image if the image is larger than the
Preview panel. If the image size is smaller than the Preview panel, then
the image will be displayed as its actual size. The second panel is the
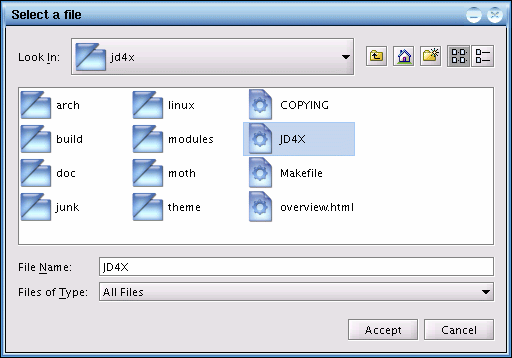
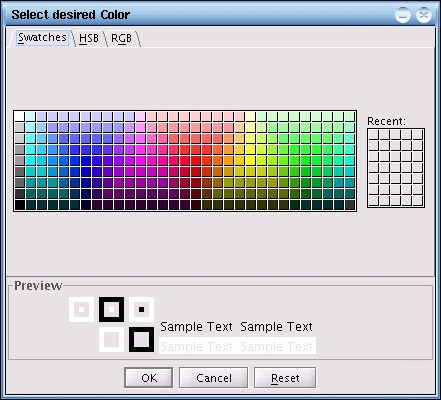
configuration panel, which will allow you to select the desired image
file, Display type and Background Color of the default desktop
workspace. When the user configures a new setting in the editor, it does
not directly take effect in the actual desktop background until the user
clicks on the Ok or Apply button to finalize the changes. If the Ok
button is clicked, the changes will take effect on the desktop
background and the background editor will be closed. The Apply button
allows the changes to take effect but the background editor will not be
closed. When the user clicks on the Cancel button, no changes will occur
to the actual desktop background, however, the editor's Preview panel
will retain its current changes. The Preview button will display the
current configuration setting in the Preview panel for viewing without
committing the new changes to the current desktop background.
Configuration Parameters
There are three Display Types that you can choose from. The first Display Type option is Scale to fit. It will adjust the selected image to fit into the actual screen size. Depending on the image file, the richer the colors used in an image, the larger the file size and therefore the longer the Background Editor will need to take to scale the image to the screen size. For good performance during desktop startup, the image selected for the background should be edited to use a reasonable amount of color so that it can be loaded fast. One possible example is to use only 256 colors or just use the gray scale and etc.
The second Display Type option is Center. The Background Editor will retain the original image size and position the image to the center of the actual desktop screen. This option is good when combining a logo with a desired background color.
Configuration Parameters
There are three Display Types that you can choose from. The first Display Type option is Scale to fit. It will adjust the selected image to fit into the actual screen size. Depending on the image file, the richer the colors used in an image, the larger the file size and therefore the longer the Background Editor will need to take to scale the image to the screen size. For good performance during desktop startup, the image selected for the background should be edited to use a reasonable amount of color so that it can be loaded fast. One possible example is to use only 256 colors or just use the gray scale and etc.
Scale to fit Option

The second Display Type option is Center. The Background Editor will retain the original image size and position the image to the center of the actual desktop screen. This option is good when combining a logo with a desired background color.
Center Option
